Whether you’re checking for early signs of breast cancer or simply maintaining an understanding of your own body, regular self-breast exams are a key aspect of breast health. The earlier you detect any abnormalities, the sooner you can take action to consult with a healthcare provider and potentially receive a diagnosis. While mammograms and professional exams are essential, self-exams are an accessible, non-invasive method that puts you in control of monitoring your health.
This guide will walk you through the step-by-step process of performing a self-breast exam, how often you should do them, what you should be looking for, and how to approach any findings that concern you. Whether you’re just starting with self-breast exams or need a refresher on technique, this guide will provide everything you need to know.
Why Are Self-Breast Exams Important?
Before discussing the technique, it’s important to understand why self-breast exams are essential. Here are a few key reasons:
- Early Detection of Breast Cancer: Breast cancer is most treatable when detected early. Finding a lump, change in texture, or any abnormality in your breast tissue can prompt you to seek medical attention sooner, which could potentially save your life.
- Familiarity With Your Own Body: Regular self-exams help you become more familiar with the look and feel of your breasts, allowing you to quickly notice any changes. Breasts can naturally change throughout your menstrual cycle or as you age, so understanding your normal baseline is key to identifying anything out of the ordinary.
- Empowerment: Taking an active role in your breast health through self-exams empowers you to be proactive about your well-being. Instead of waiting for a doctor’s visit or a mammogram, you can regularly monitor your health at home.
- Supplement to Professional Screenings: While self-exams are a great tool, they should never replace professional screenings such as mammograms or ultrasounds. Instead, they complement these methods, allowing for continuous monitoring between medical visits.
When Should You Do a Self-Breast Exam?
Performing self-breast exams regularly is crucial, but timing also matters. For those who menstruate, the best time to perform a self-breast exam is about 3 to 5 days after your period ends. This is when your breasts are least likely to be swollen or tender due to hormonal changes, making it easier to detect unusual lumps or changes in texture.
If you don’t menstruate—whether because you’ve gone through menopause, had a hysterectomy, or for other reasons—choose a consistent day each month to perform your exam. This helps you create a routine and keeps you in tune with your breast health over time.
How Often Should You Perform a Self-Breast Exam?
The American Cancer Society suggests that women should be familiar with how their breasts normally look and feel and report any changes to their healthcare provider. While formal recommendations may vary, performing a self-breast exam once a month is a good guideline. Monthly exams help you stay in tune with any changes and allow you to pick up on abnormalities more quickly than if you were to check less frequently.
Preparing for Your Self-Breast Exam
Before starting, it’s important to be in a comfortable and relaxed environment where you won’t be interrupted. You’ll want to perform the exam both standing up and lying down, so having access to a mirror and a bed or other flat surface is helpful.
Here’s what you’ll need:
- A large mirror where you can see your breasts.
- Good lighting to ensure you can spot any visual changes.
- A comfortable space to lie down.
Step-by-Step Guide to Performing a Self-Breast Exam
There are three primary steps in a thorough self-breast exam: visual inspection, standing palpation, and lying down palpation. Follow these instructions carefully for a complete examination.
Step 1: Visual Inspection
Stand in front of a mirror with your arms relaxed at your sides. In this step, you’re looking for any visual changes in the appearance of your breasts. Here’s what to do:
- Check for Symmetry: While it’s common for one breast to be slightly larger than the other, any sudden or noticeable changes in size or shape should be noted.
- Examine Skin Changes: Look for any dimpling, puckering, or bulging of the skin. The skin on your breasts should appear smooth. Any changes in texture, such as an orange-peel-like appearance, should prompt further examination.
- Observe the Nipples: Take note of any changes in the appearance of your nipples, including sudden inversion (if they weren’t inverted before), scaling, or redness. Any discharge—especially if it’s bloody or occurs without squeezing—should be reported to your doctor.
- Look for Swelling or Distortion: Check for any swelling or distortion that seems out of the ordinary.
Next, raise your arms overhead and repeat the visual inspection. Raising your arms allows you to check for skin puckering, dimpling, or any other abnormalities that might not be visible with your arms at your sides.
Step 2: Standing Palpation
Now that you’ve completed the visual inspection, it’s time to feel your breast tissue for any lumps or irregularities. This part of the exam is best done in the shower when your skin is slippery from soap and water, allowing your fingers to glide more easily.
Here’s how to palpate your breasts while standing:
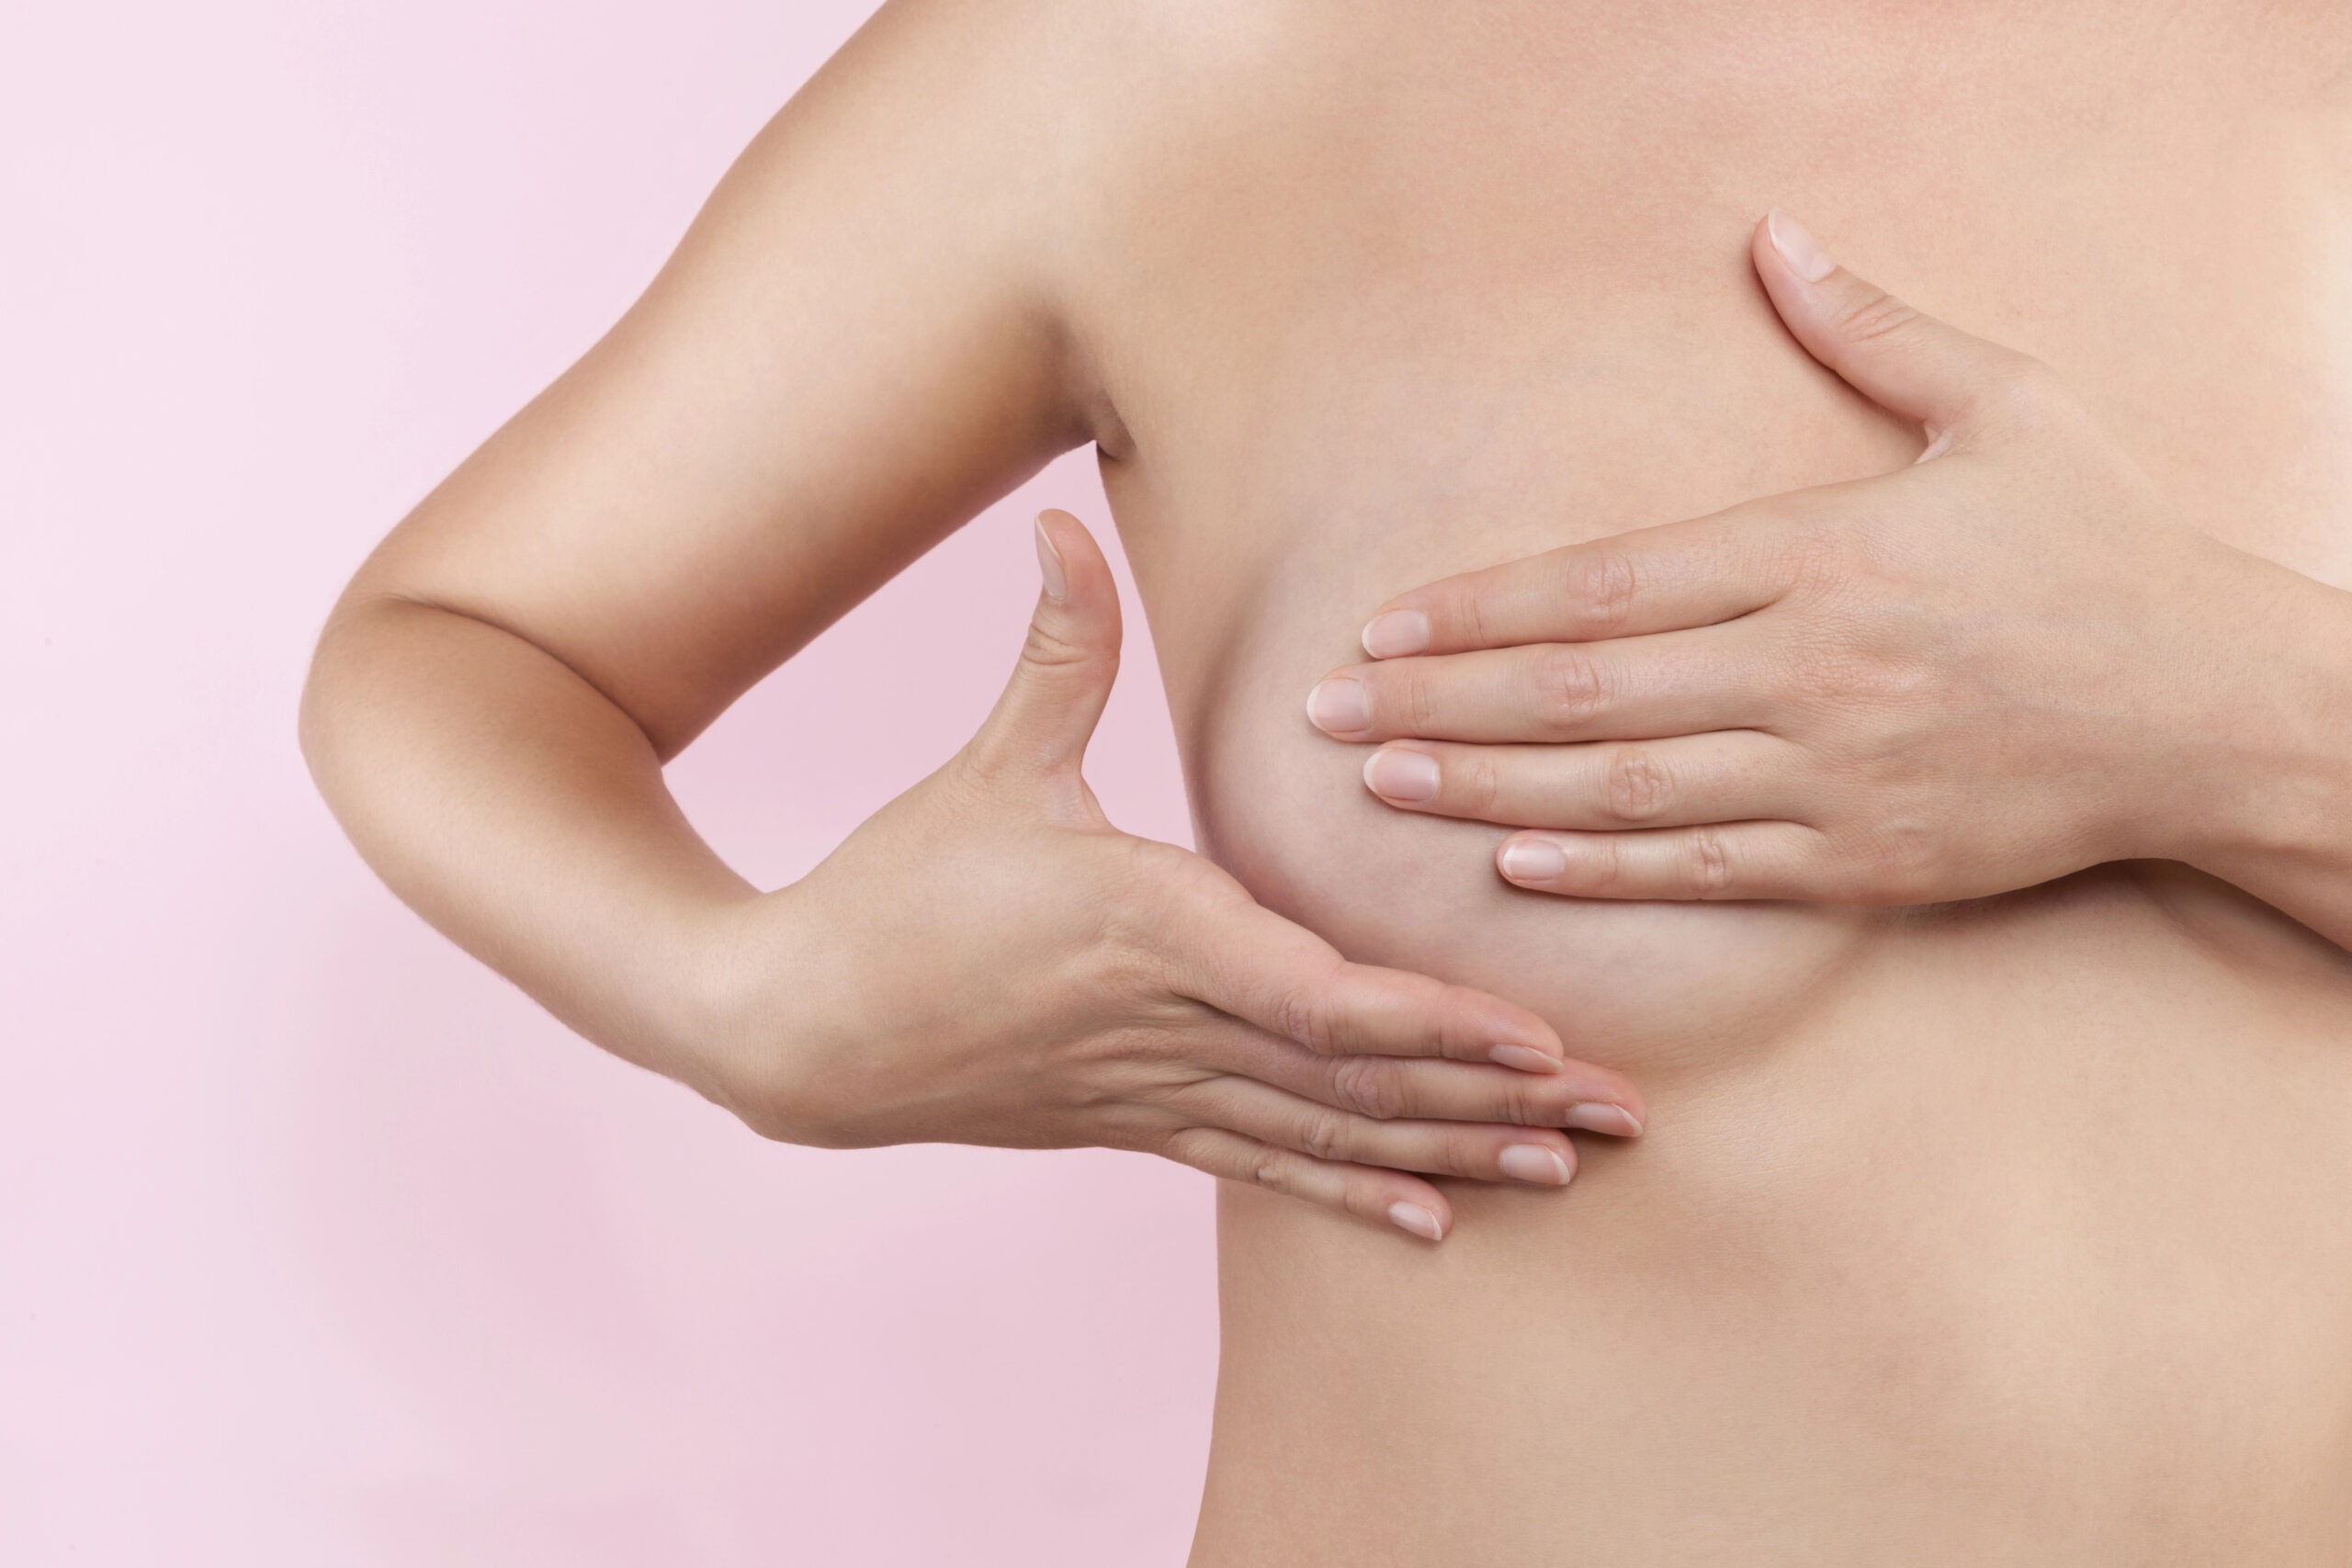
- Use the Pads of Your Fingers: Using the pads of your three middle fingers (not the fingertips), gently press down on your breast tissue. Keep your fingers flat and together for a more consistent feel.
- Cover the Entire Breast: Start at the outer edge of your breast and move in small, circular motions, gradually working your way toward the nipple. Make sure you cover the entire breast, from the collarbone down to the top of your abdomen, and from the side of your chest around to your sternum.
- Vary the Pressure: Use different levels of pressure—light pressure to feel the tissue just beneath the skin, medium pressure to check deeper layers, and firm pressure to feel the tissue closest to your chest wall.
- Don’t Forget the Armpits: Breast tissue extends into the armpits, so make sure to check this area as well. Gently press into the armpit area to feel for any unusual lumps or hardened areas.
- Check the Nipples: Gently squeeze each nipple to check for discharge. If any discharge appears—especially if it’s bloody—this could be a sign of a problem and should be checked by a healthcare professional.
Step 3: Lying Down Palpation
To get a full sense of your breast tissue, it’s important to repeat the palpation process while lying down. Lying down helps spread the breast tissue more evenly against the chest wall, making it easier to feel for deep-seated lumps or changes.
- Lie Down on Your Back: Lie flat on your back with one arm raised behind your head. This position flattens the breast, making it easier to feel all layers of the tissue.
- Use the Same Circular Motions: Using the pads of your fingers, repeat the same circular motion you used while standing. Start at the outer edge of your breast and move inward toward the nipple, covering the entire breast and surrounding area.
- Check Both Breasts: Make sure to check both breasts thoroughly. Take your time, and don’t rush through this step.
What Are You Looking For During a Self-Breast Exam?
When performing a self-breast exam, you’re looking for any unusual changes or lumps. Here are some specific things to watch for:
- Lumps: Not all lumps are cancerous, but finding a lump is one of the most common signs of breast cancer. Lumps can feel like hard, irregularly shaped masses that don’t move easily under the skin.
- Changes in Size or Shape: Sudden changes in the size or shape of one or both breasts should be noted. Asymmetry is common, but sudden changes warrant a closer look.
- Nipple Discharge: Any nipple discharge, especially if it’s bloody or occurs without squeezing, should be evaluated by a healthcare provider.
- Skin Changes: Look for dimpling, puckering, redness, or any texture changes that resemble the surface of an orange. These changes can sometimes indicate underlying issues, such as breast cancer or an infection.
- Pain or Tenderness: Breast tenderness can occur for many reasons, including hormonal changes. However, if you experience persistent pain in one area that doesn’t fluctuate with your cycle, it’s worth discussing with a doctor.
What If You Find a Lump or Abnormality?
Finding a lump or abnormality during a self-breast exam can be scary, but it’s important not to panic. Many breast lumps are benign and can be caused by a variety of non-cancerous conditions, such as cysts, fibrocystic breast changes, or fatty tissue. However, it’s always better to err on the side of caution and consult your healthcare provider if you notice anything unusual.
Here’s what you should do if you find a lump:
- Don’t Jump to Conclusions: Many breast lumps turn out to be non-cancerous, so it’s important to remain calm and seek a professional opinion.
- Schedule a Doctor’s Appointment: Call your healthcare provider as soon as possible to schedule a clinical breast exam. Your doctor may recommend further tests, such as a mammogram, ultrasound, or biopsy, to determine the nature of the lump.
- Keep Monitoring: While you wait for your appointment, continue monitoring the lump for any changes in size, shape, or texture. Keep a record of what you observe so you can discuss it with your doctor.
Other Breast Health Tips
In addition to performing monthly self-breast exams, here are some other tips to maintain optimal breast health:
- Get Regular Mammograms: Follow the recommended guidelines for mammogram screenings based on your age, family history, and risk factors. Mammograms are an essential tool for early detection of breast cancer.
- Maintain a Healthy Lifestyle: A balanced diet, regular exercise, and limited alcohol intake can all contribute to breast health. Obesity and alcohol consumption are known risk factors for breast cancer, so maintaining a healthy lifestyle is important.
- Know Your Family History: Understanding your family’s medical history can help you assess your risk for breast cancer. If you have a family history of the disease, talk to your doctor about any additional screening or genetic testing that may be appropriate.
- Don’t Smoke: Smoking is a known risk factor for many types of cancer, including breast cancer. Quitting smoking can significantly reduce your cancer risk.
Final Thoughts
Performing a monthly self-breast exam is an empowering and essential part of breast health. By familiarizing yourself with the look and feel of your breasts, you’ll be better equipped to detect any changes that might signal an underlying problem. Remember, early detection is key when it comes to breast cancer, and self-exams are an excellent tool for catching potential issues early.
However, it’s important to remember that self-exams should complement, not replace, professional screenings like mammograms and clinical breast exams. If you ever find a lump or notice anything unusual during your self-breast exam, don’t hesitate to reach out to your healthcare provider.
Concerned with signs of aging?
At our Flagstaff office, we offer injectables, laser treatments, premier facials, chemical peels, and facial cosmetic surgery to help you feeling confident and youthful again. Your health and happiness are our top priorities at Plastic Surgeons of Northern Arizona, and we are here to support you every step of the way.


